


If you have multiple ear piercings, especially cartilage piercings that take months to heal, you know the struggle of sleeping comfortably. Laying on a fresh piercing night after night is unpleasant and can slow down healing. That’s where a DIY piercing pillow comes in.
This homemade piercing pillow for sleeping creates a protective space for your ear. The cushion sits on your regular pillow with a hole in the center that supports your ear inside, keeping pressure off the piercing site. It’s like magic for anyone dealing with a new ear piercing healing pillow need.
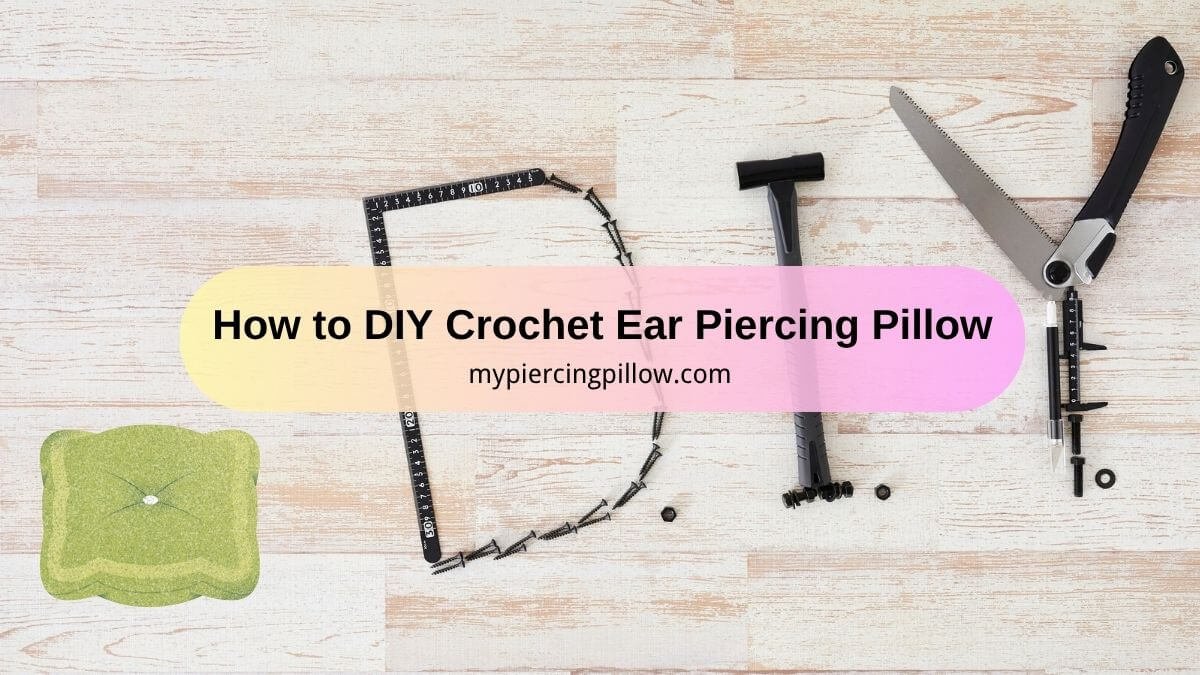
In this tutorial, I’ll show you how to crochet a piercing pillow using an inexpensive bath sponge and basic crochet skills. This ear hole pillow for healing is simple to make and can save you weeks of discomfort.
Materials You’ll Need for Your DIY Piercing Pillow
To make this piercing pillow with sponge, you’ll need:
- Bath sponge (approximately 70p from supermarkets like Morrison)
- Yarn in your chosen color
- Crochet hook (size appropriate for your yarn)
- Sharp scissors
- Yarn needle for sewing
The bath sponge provides the cushioned structure. Choose one that’s thick enough to create a proper hole but soft enough to be comfortable.
-
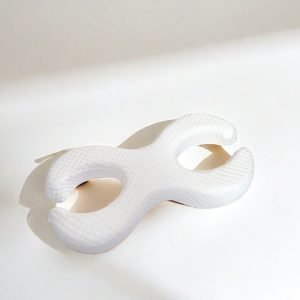
Donut Memory Foam Piercing Pillow
Original price was: $89.00.$79.00Current price is: $79.00. -
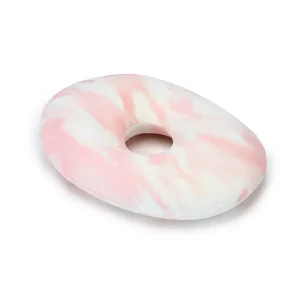
Donut Piercing Pillow
Original price was: $59.90.$39.90Current price is: $39.90. -
Memory Foam Piercing Pillow
Original price was: $99.00.$89.00Current price is: $89.00. -
Piercing Pillow for Side Sleepers
Original price was: $120.00.$99.00Current price is: $99.00.
How to Crochet a Piercing Pillow
Step 1: Prepare Your Sponge
Start by cutting the center out of your bath sponge to create the hole for your ear. Draw a circle on the sponge first as a guideline. You want the opening large enough for your ear to fit comfortably inside, but with enough surrounding cushion to provide support.
Use sharp scissors to cut through the sponge, creating an O shape. Don’t worry about making it perfect since the crochet will cover any rough edges. Test the hole size by placing it against your ear to ensure proper fit.
Step 2: Crochet the Base Chain
Make a slip knot on your hook and chain approximately 20 stitches to start. Measure this chain around the edge of your sponge hole. You want a snug fit that will pull the sponge edges together slightly.
The exact number of chains will depend on your sponge size and yarn thickness. For reference, 18 chains worked for this particular sponge, but measure yours and adjust accordingly. It’s better to have it slightly tight than too loose.
Step 3: Build the Tube Using Double Crochet
Work a UK double crochet into the second chain from the hook. Your second chain is not the one your loop is coming out of, but the next one. Insert your hook, fetch the yarn back so you have two loops, yarn round, and pull through both loops.
Continue working one double crochet into each chain across the entire row. When you reach the end, test the piece on your sponge to confirm the width is correct with a little bit of pull.
Chain one, turn your work, and double crochet into every stitch across the row. Make sure to work through both pieces of yarn at the top of each stitch to avoid a ridged texture. Continue this pattern of chaining one, turning, and working double crochet in every stitch.
Keep working in this double crochet piercing pillow technique until your piece is long enough to wrap completely around the sponge. You want just a slight overlap, not too much.
Step 4: Insert Sponge and Join the Sides
Once your crochet piece wraps around the sponge with a small amount of stretch, cut a long tail for joining. Thread this tail onto a yarn needle.
First, pull the needle through the final loop to secure it. Then position the two short edges of your crochet together and whip stitch them together, stitch for stitch, all the way across. This creates a tube.
Slide your sponge into the center of this crochet tube. Position it so the seam sits on one side of the sponge, making it easier to close the ends.
Step 5: Finish and Secure the Crochet Ear Cushion
To close the ends of your piercing cushion, find your starting seam on one side and the ending seam on the other side. Pull them together and whip stitch a few times to secure.
Now work row for row around the opening, stitching the row ends together as you go. Check every few stitches that you’re matching the correct rows to avoid bunching or gaps. Work your way around the entire sponge edge.
When you reach the end, weave in the yarn ends securely. You can push the needle through the sponge itself to help hide the ends. Trim off any excess yarn.
Manipulate the seams so they sit on the inside of the cushion, and your ear piercing pillow is complete.
Quick Tips for Your Piercing Comfort Pillow
- Measure your chain length carefully around your specific sponge before starting rows
- Work through both loops of each stitch to create smooth, even fabric
- Don’t forget the final stitch in each row to maintain straight edges
- Keep checking row alignment when closing the ends to prevent puckering
- Position the finished cushion with the hole centered over your ear before sleep
How to Use Your New Piercing Pillow
Place the finished crochet piercing cushion on top of your regular pillow. Position your ear so it rests inside the hole, with the piercing suspended in the open space. The cushion supports the area around your ear while keeping all pressure off the piercing site.
This setup allows you to sleep comfortably without disturbing your healing piercing. The soft crochet cover is gentle against your skin, and the structured sponge maintains the protective space throughout the night.
Whether you’re dealing with a fresh cartilage piercing or any other ear piercing that’s taking time to heal, this cheap piercing pillow DIY solution provides immediate relief. The entire project costs less than a pound for materials and can be completed in an evening.