


If you’re struggling with healing piercings, you’re not alone. With 24 piercings (23 healed, one frustratingly stubborn), I’ve learned plenty of effective piercing healing tips—what works and what doesn’t.. Some people have harder genetics for piercing healing, but with the right piercing aftercare tips, you can help your body heal properly.
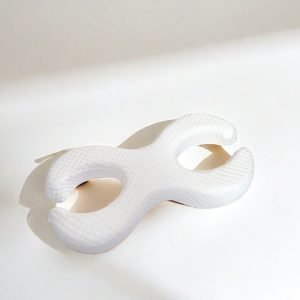
Sleeping with New Piercings: The Piercing Pillow Solution
If you’re a side sleeper or stomach sleeper like me, sleeping with new piercings can be challenging. I can’t lie on my back because I’m terrified of sleep paralysis, even though I’ve never had it.
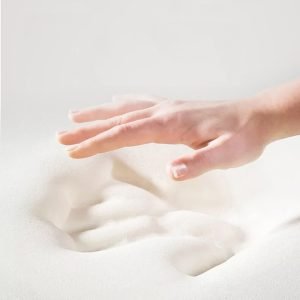
The solution? A piercing pillow. I highly recommend getting a memory foam piercing pillow. You can prop it up and create enough space so your piercing doesn’t touch the pillow surface. This protects your healing piercings while you sleep—one of the simplest piercing healing tips that makes a big difference.
The piercing pillow trick works for ear piercings. If you want to get multiple piercings and keep them safe during healing, this is essential piercing healing tip.
-
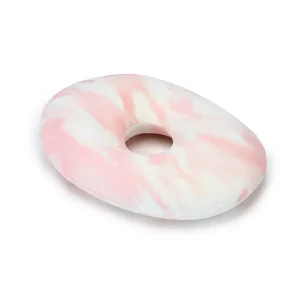
Donut Memory Foam Piercing Pillow
Original price was: $89.00.$79.00Current price is: $79.00. -
Donut Piercing Pillow
Original price was: $59.90.$39.90Current price is: $39.90. -
Memory Foam Piercing Pillow
Original price was: $99.00.$89.00Current price is: $89.00. -
Piercing Pillow for Side Sleepers
Original price was: $120.00.$99.00Current price is: $99.00.
How to Clean Piercings: The Sea Salt Soak Method
For cleaning piercings, one of my go-to piercing healing tips is to always use a bowl. A smaller bowl works perfectly for ear piercings or belly button piercings because you can soak the piercing and lie back during your sea salt soak.
Preparing Your Sea Salt Soak for Piercings
Use just a pinch of sea salt—not too much. If you put too much salt, you’ll irritate your piercing and delay the healing process.
Here’s how to prepare the soak:
- Add a pinch of sea salt to the bowl
- Boil water and let it cool down until you can touch it without burning your skin
- Soak your piercing for 5 to 10 minutes
Cleaning Technique After Soaking
After soaking, take a Q-tip and clean your piercing gently. It’s one of the most practical piercing healing tips to follow daily. Gently remove any crusties, but don’t force them off. Don’t scrape the crusties because you’ll irritate the piercing more.
Go gently with the Q-tip around the piercing and try to move the crust, but don’t force it. Let the sea salt soak do the work.
Cleaning Cartilage Piercings
Upper cartilage piercings are more difficult to clean. Soak the Q-tip in the sea salt solution, then hold it against the piercing. Keep it there, making sure it’s dripping wet. Move it around very gently.
Turn the Q-tip around to use the other side. If your piercing can be moved and doesn’t have crusties on it, you can move it around with clean hands or the Q-tip after cleaning.
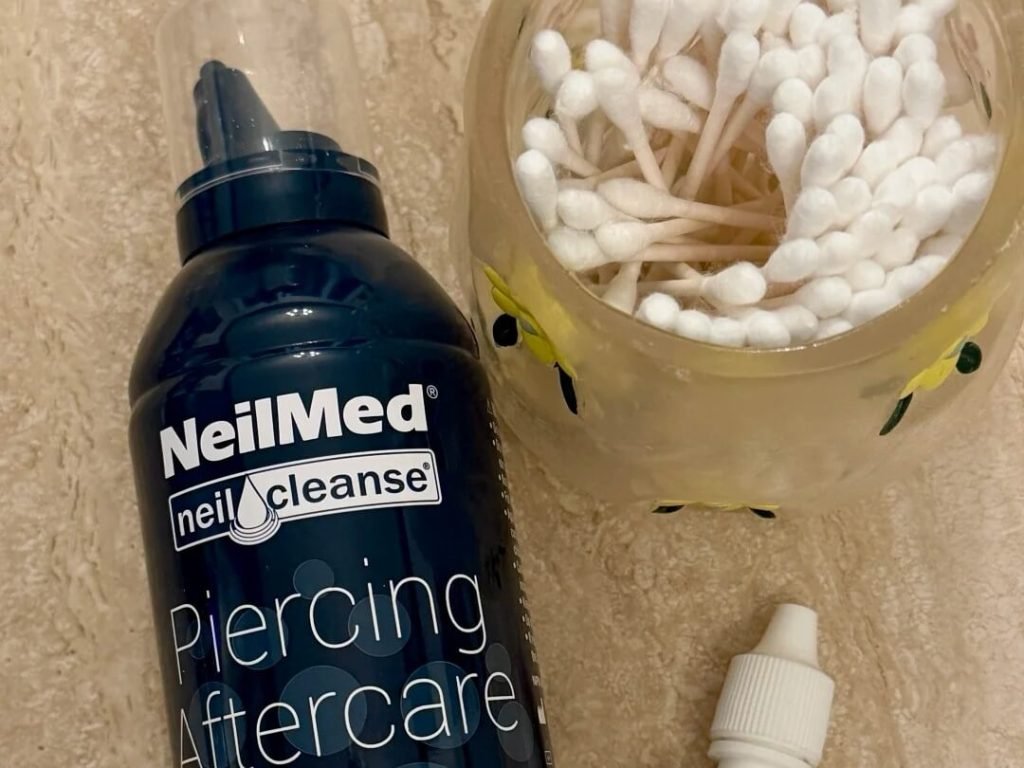
Drying Your Piercing
After cleaning, take a fresh Q-tip and dry the area. Do not force your piercing to move because that will irritate it. We’re just trying to clean it with the sea salt and water soak.
Vitamin C for Piercing Healing: Immune System Support
If you don’t normally take vitamin C and zinc, consider adding them to your piercing healing tips routine—they support the immune system. These supplements give your immune system a boost so it can assist in healing.
This isn’t a requirement, just a suggestion. It helps me, especially when I have irritated piercings and want to speed up the process a little bit.
After-Shower Piercing Care
Always rinse your piercings after a shower. This simple routine belongs to the most underrated piercing healing tips. You might get product or residue in the piercing from your shampoo, conditioner, or other body products. Give it a rinse with water, then dry it with a Q-tip.
What to Avoid When Healing Piercings
Environments to Avoid
Avoid going to saunas or natural bodies of water—one of the most overlooked piercing healing tips for preventing infection. Avoid taking baths. Treat your piercing like you would treat any open wound—protect it from potential infection sources.
My Nose Piercing Infection Story
When I had my nose piercings healing, I was stupid. Don’t do what I did. I went to the beach about a month after getting my nose piercings. I irritated them so badly they took 6 to 8 months to heal.
I did that sea salt soak every single day for about 4 to 5 months. If you don’t have the persistence and patience for sea salt soaks, don’t risk it. Just wait before submerging your face in water.
I wanted to play mermaids and thought it would be fine. It wasn’t. I got an infection. If you do take risks like swimming, remember you have to take precautions by cleaning the piercing constantly and making sure it’s safe and not infected.
Products to Avoid
Do not use hydrogen peroxide on your piercings. Among all piercing healing tips, this one is crucial—peroxide delays healing. It will irritate them and make them feel more raw, which interferes with the healing process. Sea salt soak is your best friend.
I’ve heard about tea tree oil soaks. When my nose piercing was really infected, I tried a tea tree oil soak with one drop of tea tree oil in water. I realized it made the piercing more irritated, so I went back to my sea salt soak. That took several months to heal, but it’s the best approach.
Also, do not use antibacterial soap for your piercings. They will get irritated. Use a mild, fragrance-free cleanser instead.
The Importance of Hand Hygiene
Clean your hands constantly. Consistent hygiene is one of the golden piercing healing tips every piercer repeats.I know it’s hard when you get home, and you might think you don’t need to wash your hands incessantly anymore. But pretend you have poop on your hands all the time.
What do you do when you have poop on your hands? You clean them. That’s what we’re going to do for the whole time your piercing is healing. Would you ever touch your healing piercing with poop on your hands? No, you wouldn’t.
All that poop is going to go on your phone and everything you touch—poop on your food, everything you’re cooking. So clean your hands.
Wash your hands before you do the sea salt soak. Clean them after you do the sea salt soak. Dry the piercing with clean hands. Then clean your hands again for good measure. Clean hands mean no poop, so you can cook without poop on your food.
Piercing Jewelry Sizing: When to Change Your Jewelry
Always wear the correct jewelry for your piercings. Always wear the correct jewelry for your piercings—another practical piercing healing tip to reduce irritation.Wrong jewelry sizing will irritate your piercings.
My Jewelry Sizing Experience
With my upper ear piercing, the bar I was using was too short. I switched to a longer bar and instantly it was no longer irritated. I had crusties behind my ear because the short bar was pushing into the piercing and irritating the hole. Now it’s all good—no more pus, no more irritation.
During the healing process, it’s good to have a longer bar. You can switch to a smaller one once the piercing is more healed.
When to Consult Your Piercer
Always consult with your piercer about when you should change your bar. If your piercing is irritated, I recommend going to your piercer and asking whether you need to size up or size down. Both can be necessary.
I had to change jewelry several times for my nipple piercing. It had been a year since I got it, so I changed to a smaller bar. Then it instantly got irritated. I didn’t know what I was doing wrong.
I went to a piercing studio and asked what was wrong. They told me the bar was too small and I needed to size up again. I sized up and it was fine again. Consult piercers—they’re there to help you.
Best Jewelry for Healing Piercings: Material Matters
Try to get jewelry that is as high quality as possible. I recommend titanium, gold, or silver. Some people have different allergies to different metals, so it’s a trial and error process. You don’t know until you try which metals you’re allergic to.
I’m blessed that I don’t have metal allergies. I can wear anything from titanium and up. However, lower quality jewelry tends to irritate my skin and my piercings. It will even raise my tattoos, which is really weird. If I wear bracelets or rings that are lower grade metal, I notice irritation.
Piercing Healing Time: Genetics and Health Matter
How fast a piercing will heal really depends on your genetics and your general health. Please be patient with yourself.
When Piercings Don’t Work: Anatomy and Rejection
Understanding Piercing Anatomy
Sometimes we just don’t have the anatomy for certain piercings. For example, I had eyebrow piercings. I took them out shortly after getting them because I realized my anatomy wasn’t correct. I didn’t have enough skin to grab and pinch, so the piercing couldn’t sit there properly. It couldn’t heal without irritating my skin and eventually would have rejected.
Surface piercings tend to reject more easily. It could have been the piercing being done in the wrong area, or it could be because I don’t have the anatomy for that piercing, or it could be because surface piercings just tend to reject. These things happen.
Piercing Rejection Signs: My Nipple Piercing Experience
Consult your piercer if you’ve been cleaning your piercing properly but it’s slowly migrating. That’s what happened with my nipple piercing the first time I got it. It healed up fine initially, then eventually it slowly started migrating out of my nipple and rejecting. It almost fell out, so I took it out myself.
I waited a few years and got it repierced behind the scar tissue. Oh boy, it does hurt when you repierce through scar tissue. I’m really glad I didn’t know that beforehand because I probably wouldn’t have done it. If it ever starts rejecting again and falls out, I’m not getting it repierced because that hurt so badly.
Sometimes we don’t have the anatomy for certain things, but you can keep trying if you want to—with the right dedication.
Final Piercing Healing Tips
Don’t fiddle with your piercings. It’s one of the classic piercing healing tips everyone should follow. Sleep on safe pillows and don’t sleep on the side that has the piercing. I know we can’t control how we sleep, but getting a piercing pillow really helps.
If you’re trying to avoid sleeping on one side but you sleep on your side, I recommend putting a pillow behind you. This prevents you from fully turning during the night. I have tons of plushies in my bed, and whenever I get tattooed, I do this to help with healing.
If you’re one of the lucky ones with easy healing genetics, good for you. But if you have nightmare piercing healing stories, you’re not alone. With persistence, proper cleaning, and patience, you can successfully heal your piercings.
Keep these piercing healing tips in mind throughout your journey, and your piercings will heal faster and with fewer issues.